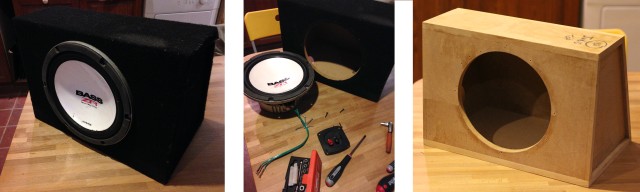
As you may have previously seen and read about I’m a big fan of Sticker bombing and have already stickerbombed the whole of my VW T4’s roof and the back of one of its seats as well as a rear storage box. I’ve had this old subwoofer box for well over a year now, I bought it second hand and although the sub itself is great quality and works well, the enclosure has always been a bit beat up and scruffy. I’ve been wanting to stickerbomb it for ages; luckily, a couple of weeks ago I finally got enough spare time to do it.
I started off by removing the woofer and the wiring from the box. When you do this, have a good look at how it all goes together so it will be nice and easy to re-assemble. I then stripped off all the carpet, which was easy because it was only stuck on with rubbish glue and peeled away effortlessly. To ensure that the stickers had a good surface to bond to (preparation, preparation, preparation!) I sanded the box. I did this to ensure it was all lovely and smooth and free of glue residue. I then hoovered and wiped the box clean, as dirt and dust will prevent the stickers from working well.
I then followed my own advice and separated my stickers, of which you need loads, into three piles. The background rubbish ones, the mid ground ones and finally the cream of the crop that you want to place last.
This is really important because you want to get the entire box covered so that no wood is exposed before you start adding anything you’d like to see. Stickerbombing works best when there are layer upon layer of stickers so that the ones you started with are barely visable.
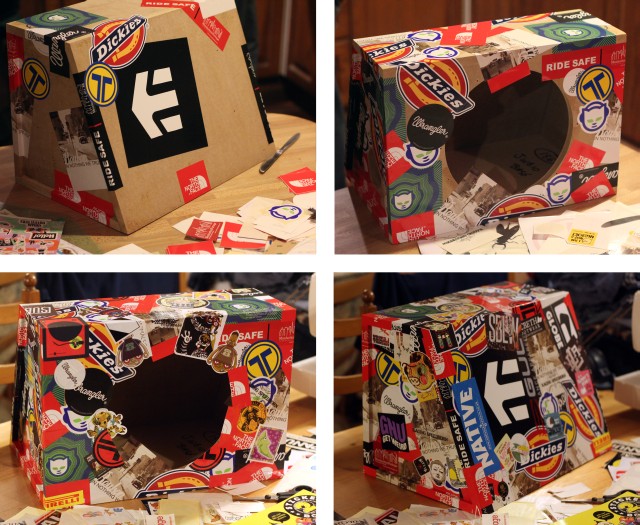
After a while I had got the box well covered and nicely layered up. When sticker bombing 3D objects, think about which parts are going to be most visible and try and utilise most of your stickers and your favourite ones on these sides. Another top tip is that it’s easier to sticker bomb over the holes and then cut them out later with a Stanley knife, so this is what I did. Then with the holes cut out I re-assembled the subwoofer.
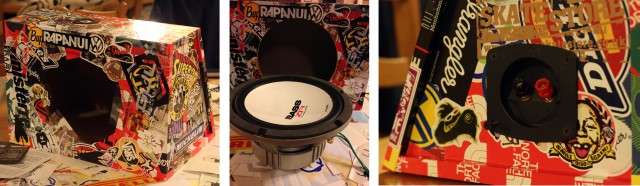
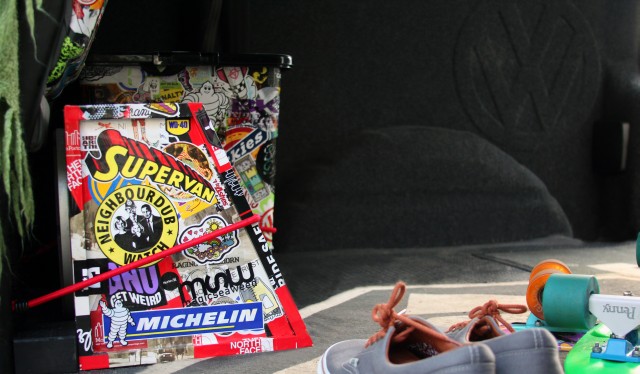
With the woofer back in the enclosure I put the final finishing touches to the box and added my very favourite stickers which I wanted to be the final layer and not covered by any other stickers. These included an awesome, authentic ‘Route 66’ sticker which a good friend brought back for me from his travels around the US of A. My other pride and joy is a really cool ‘Supervan’ sticker which I bought at a VW show last year.

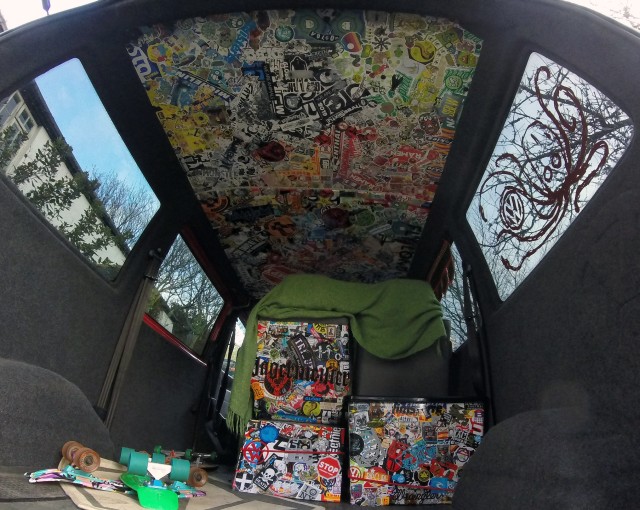
The sub lives in the back of the van just under the stickerbombed seat back and left of the storage box, which has also been sticker bombed. I think they look awesome together and the new addition of the sticker covered Subwoofer enclosure ties them all together.
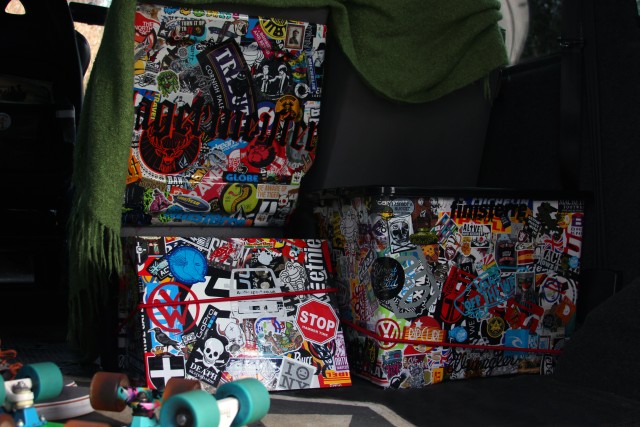
In this final wide angle shot you can see the back of the van after all the stickerbombing so far! I know it’s not for everyone but that is part of the fun in modding a van and in stickerbombing. I also love that each sticker can represent something I enjoy!