
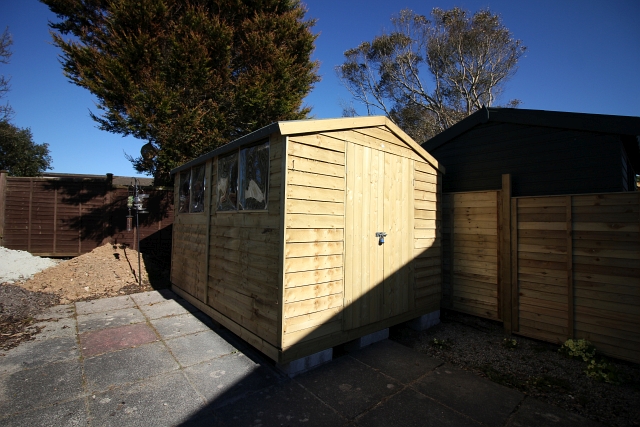
When last April I bought my house, the garden really wasn’t a Chelsea Flower Show winner. It was a good size for the house but it was very unloved. This was super cool though as it was a totally blank canvas and had loads of scope to pop my green fingered print on the place and add some extra value to the property. If you read this site regularly, you’ll have noticed I have a love of outdoor and DIY gear and needed a mancave to store all this stuff. I was desperate for a nice big shed that would at least hold some of my stash. Although not naturally visually stunning, I was confident that I could pimp out the shed and make it look really good.
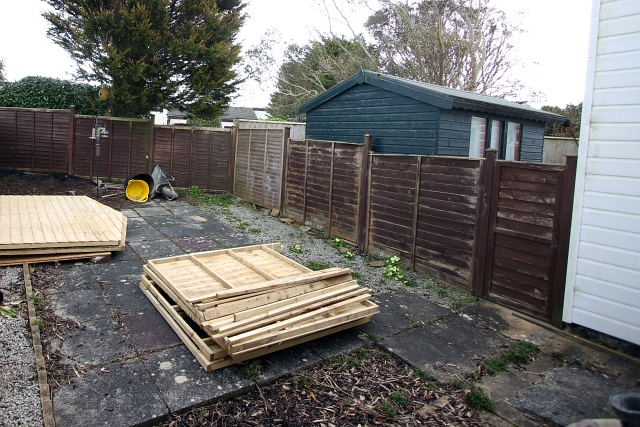
I opted for a 10 by 8 foot as it would be long enough to store my SUP/Surfboards, as well being wide enough for a work bench, a walkway and bikes etc. Like so many things, the key to getting a good shed is the foundations. You need a really solid base, on good ground. If you get the whole thing nice and level you’ll be off to a great start. I started by removing the paving slabs from where I wanted the shed to go. I then landscaped the ground and made it all level. Once this was finished I put the membrane that had been under the slabs backdown to give the whole thing a nice ‘weed-free’ base.
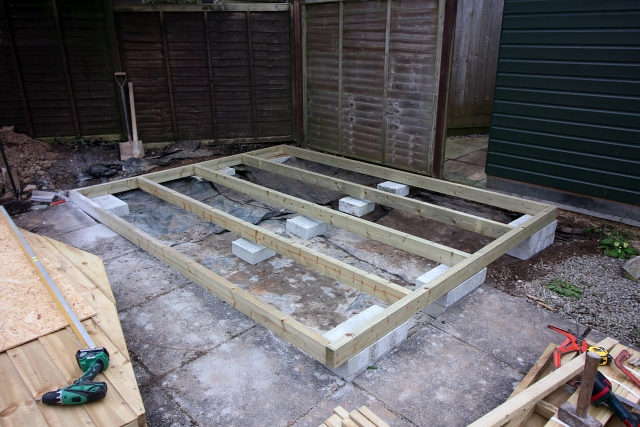
Using concrete blocks for the corners and mid way through supports of the frame I created a sturdy base that would discourage water ingress. I think it’s really important to support the middle of the beams as it takes pressure off them and will prevent bowing in the long term. Also buying thicker, chunkier timber will definitely help in the long term. When you create your base make sure your beams run the opposite way to the beams on the shed’s floor. This will keep it even stronger and ensure it’s well supported.
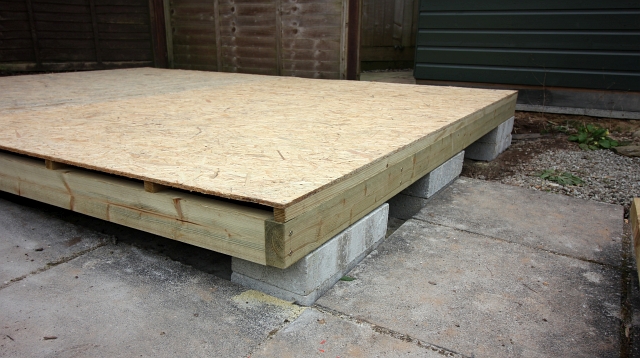
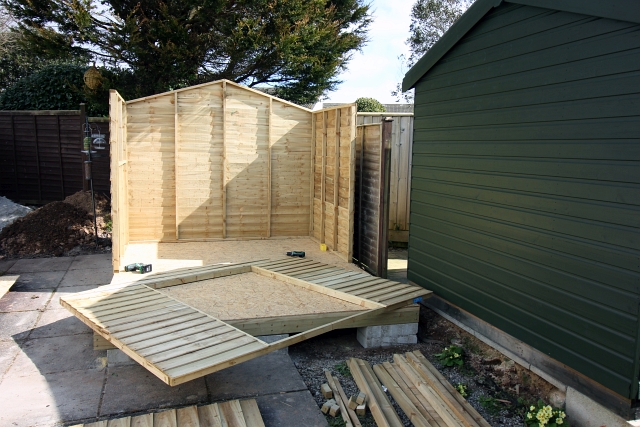
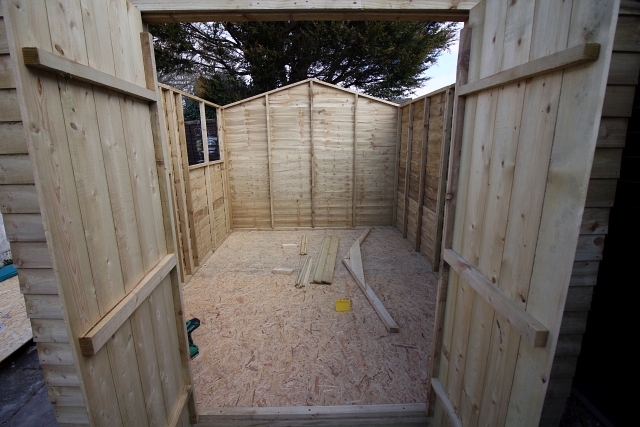
After ensuring this is all square, level and solid, have a good walk on it and fix any wobbles now while it’s easy to do so. It’s now time to put the side panels on, grab a mate or two for this part as it will make it way easier. The closer you can get all the panels and the tighter the whole assembly in general, the more waterproof it will be. I find the supplied fixing a bit naff and few so added my extra one with higher quality screws – if something’s worth doing, it’s worth overdoing.
Keep following all the instructions and soon it will be time to put the roof on. Unless you spend the best part of a grand on a shed you won’t be getting one with a membrane. However, for about £30 you can easily purchase enough breathable membrane to do the whole thing yourself! So before you put the roof on I’d defintiely recommend adding breathable roofers membrane to the roof support frame. It will not only ensure that the shed is super dry but will also keep creepy crawlies out.
When you start rolling out your membrane you must start at the lower points of the apex, this is super important because you want the next sheet to be above and to overlap by at least 10cm. This will mean that if a raindrop rolls down it will pass from the top to the bottom without going between layers (imagine tiles on a roof). If possible try and get the membrane on the apex to be roughly equal on each side. Use a staple gun to fix the membrane in place, you don’t need to go crazy as the roof will hold this firmly in place anyway.
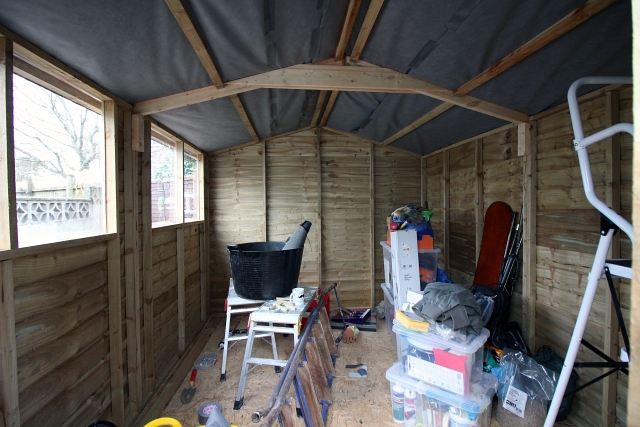
If you’ve bought an expensive studio or summer house and it’s been pre-lined with a membrane then the layer will go between the studs and the cladding. This is obviously better as it allows for straight, simple sides. However it’s not tricky to put membrane over a prefab shed with the studs in place. You want to start at the top of the shed and work from the top down, this will ensure any droplets coming from outside don’t go between layer of membrane. The easiest way to do this is have a friend hold up the roll and you staple as you move from left to right around the shed. Then once you’ve gone all the way round, return to the left, allow for a 10cm overhang and repeat. When going around the studs, work the membrane right into all the corners as this will help when putting in the insulation.
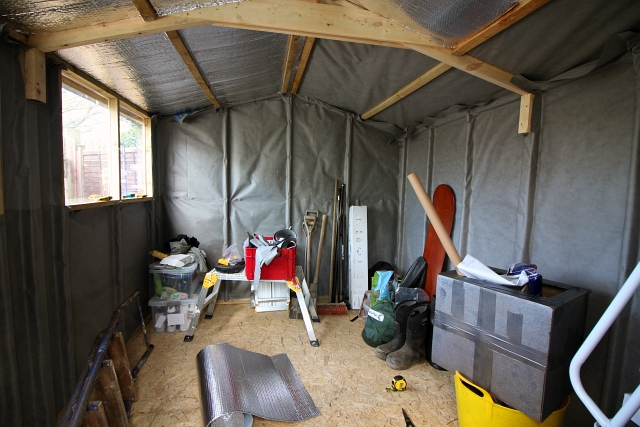
Buy cheap polystyrene insulation which is half the thickness of your cavity as this will allow for airflow. Buying bigger pieces of polystyrene will help keep the cost down. Measure each cavity and then with a metre rule, tape measure and a sharpie mark out the exact size of the cavity on the polystyrene. Using a stanley knife with a fresh blade, score the full depth of the blade along the line. This will cut most of the way through and when you bend the board it will snap nice and straight along this line. By cutting the insulation to exactly the right size or 5mm bigger you will be able to just squeeze the boards into place and they will hold firmly there without any fixings.
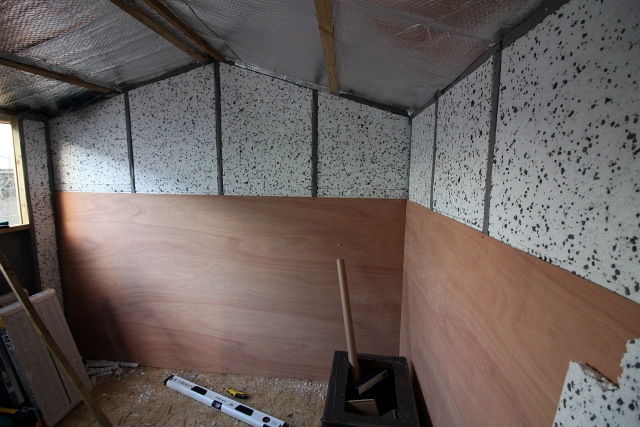
I added some double foil backed, bubble insulation which, I had left over from lining my van to the roof. This should help keep it cooler in summer and warmer in winter. Another few staples from your staple gun will hold this place. I then started to use 5.5mm ply in big 1220 X 2440mm sheets to line over the top. To make this a lot easier you should mark the tops and bottoms of the middle of the studs, otherwise when you go to fix the ply lining you wont know where to screw. When cutting your boards, the straighter you cut your lines the neater your joins will be. Also by making sure that all your joins are on studs it will help to make all the joins tighter and all together better.
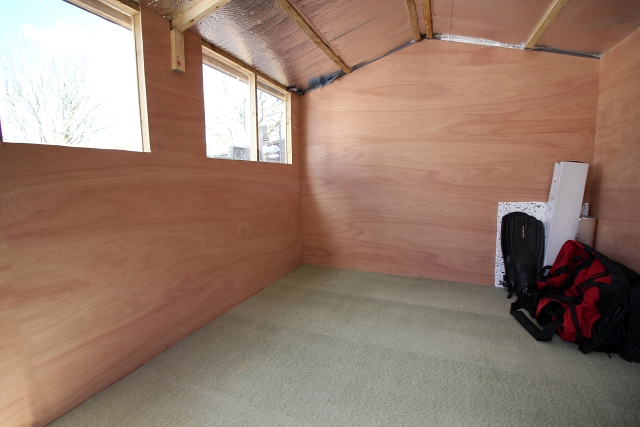
Take your time and measure up carefully as the nicer the joins the better the final appearance will be. Where possible try using whole pieces of board and use a jigsaw to cut areas like the windows out. If you really want to keep the bugs out you can use a bead of clear sealant in all of the corners and along the joins – although I’m confident nothing will get through the membrane, insulation and ply lining.
I added some extra thick water resistant flooring to add extra heftyness to the floor and stop any wobbling or bobbling. Also by ensuring it’s water safe stops me worrying about drips coming off wetsuits or watersports equipment.
My shed was now looking great. I had put it up well and it was solid. The lining had made the whole space look like a room from a house and not a shed, giving me lots of confidence to fill it with expensive gear. Saying this you must be careful that your insurance covers you for shed storage, when I renewed my home insurance I changed it from up to £1000 to up to £5000 to be certain everything was covered. To further ensure safety make sure you use security screws and a quality bolt and padlock.
There was one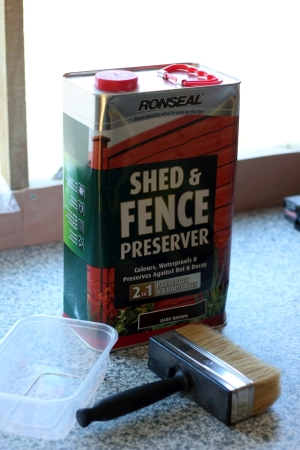 problem I had with my shed and it was the colour. It was still the original plain, pale colour which does look a bit cheap and standard. I wanted it to be a richer colour which looks a bit more classy and would tie in with the fences in my garden and blend the woodwork together. I think anything extra that you can do to the shed just shows it isn’t bog standard and gives it a more individual, quality look.
With tons of products on the market that can do this sort of job it was tricky to choose but after much aisle wondering I eventually plucked for Ronseal Shed and Fence Preserver. This was for a due reasons, firstly I can use it on my new shed and fence panels as well as a few old fence panels. Being able to use it on old and new wood in the garden means that everything ties in and looks much better. It’s great on old wood as it protects your wood from rot, decay, wood burrowing insects (like wood worm).
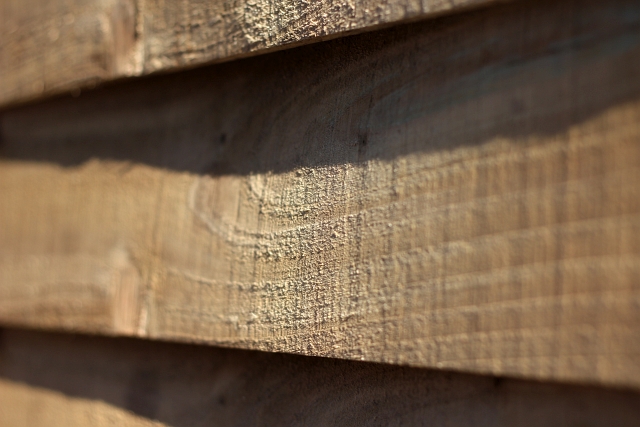
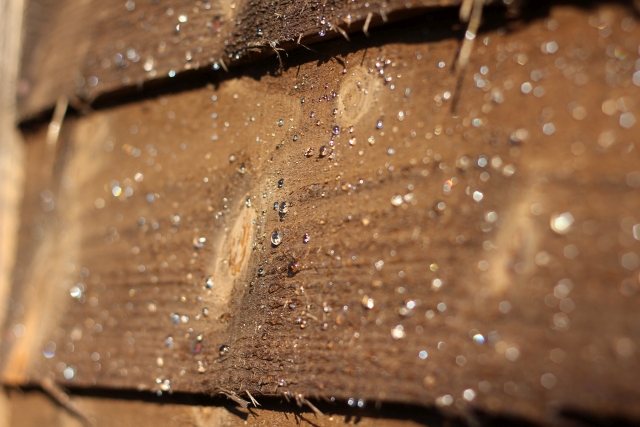
It’s also awesome on new wood like my shed as it waterproofs to prevent water ingress stopping water getting into the wood. You can really see this in the photo below, rain beads on the surface of the wood and drips off – just like you get on a nice new waterproof coat. I was stunned at how well this works as before the shed panels kind of soaked up the water. It also preserves against rot and decay and although my shed had been pressure treated, after all the effort I’d put into it, I’m well up for an added layer of protection.
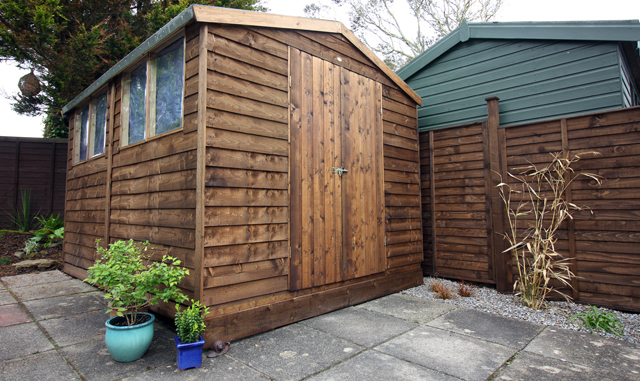
As you can see the colour of the ‘Dark Brown’ shade is excellent and makes the whole shed look more like a little cabin or chalet than a regular garden shed. It went on really nicely with a water like texture that was much easier to apply than paint or other stains I’ve used. I really liked how it gave the same finish on both the shed and fence panel which until then looked quite different, allowing for the same colour on different woods and uniformity around the garden. Another great finishing touch is a little facial board along the bottom front edge of the shed to hide the cement blocks and make it all look much less shed like.
Hi, Shed looks great. Couple of questions – are you totally comfortable the polystyrene won’t move out and contact the exterior wall?
Also, what did you do about insulating/panelling the doors?
Author
Hi, thanks for reading! I can’t really be 100% it wont move out and touch the exterior wall, it was wedged in really tightly, but without putting a baton or something down I couldn’t really be certain of this.
The doors I’ve run membrane down the inside of and might think about insulating and panelling at a later date. At the moment they are the weakest part of the shed in this regard.
What have you done? Any advice?
Nearly 12 months on and hows the shed holding up?
Stumbled across your page with getting ideas how best to insulate my shed (which is yet to be bought)
Has there been any dampness or condensation build up you can see inside?
I’m planning on using my shed as a workshop/garden storage.
Thanks for the detailed posts!
Author
So far it’s holding up really well. I haven’t seen any condensation or dampness. I haven’t been heating it inside so it hasn’t really needed the insulation but it’s good to be future proofed. The membrane has definitely kept it a lot drier inside and I never get bugs or beasties inside! I’d recommend doing it. It has made a pretty normal, cheap shed a lot more clean and suitable for storing tents and things that need to be kept bone dry and away from any damp.
Hello am planning on doing my shed do you have measurements for your foundation to follow. That will be helpful thanks.