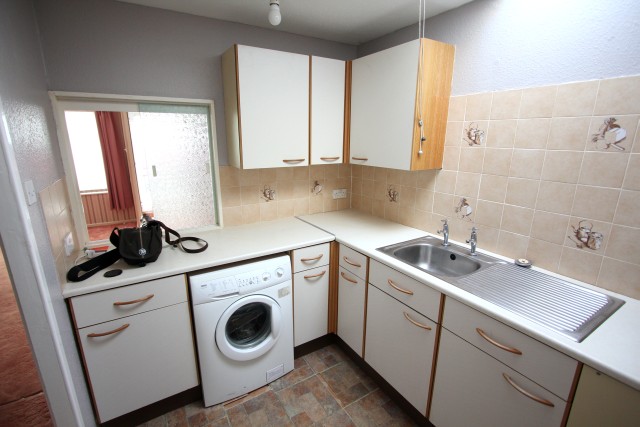
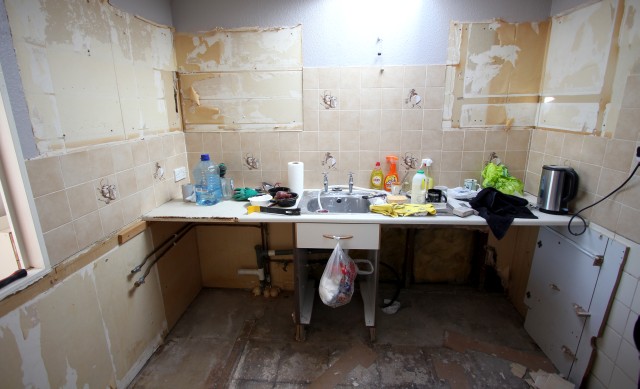
When I first went to view my house, way back at the beginning of the year, I could tell even then that the kitchen was going to be the biggest job. A couple of months later, in April, I completed and got the keys to the property. On the first few trips over to the house I imagined what the kitchen would look like when finished and measured up so we could start designing the layout and thinking about what we could do with the room.
The kitchen must have been fitted about 20 or so years ago and had some amazing wall tiles with illustrations of loaves of bread and kettles on them. It also had very retro units and doors, but not the good sort of retro…
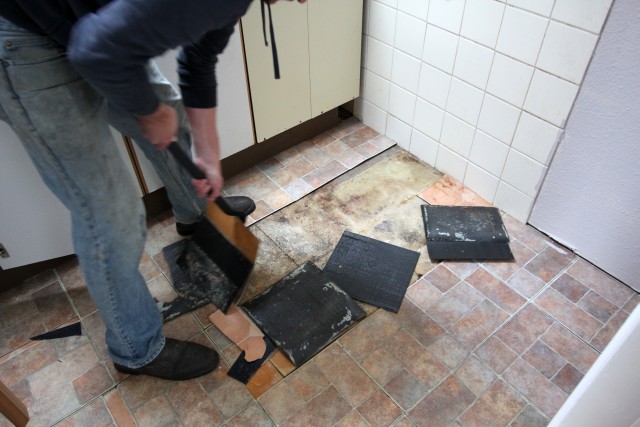
On the floor were some pretty grimy vinyl floor tiles, they were really quite nasty so one of the first jobs my friend and I did was to rip them up. Being so old, they were very brittle and stuck hard. They needed some persuasion from our crowbars. Just like pass the parcel, underneath the first layer of floor tiles was a second layer. This second layer had adhesive on the top and bottom so were particularly nasty!
While removing the floor tiles we heard a very slight hissing noise. After a bit of investigation this turned out to be a pin hole in the incoming black alkathene water pipe. A pretty common problem with this age of property, but I was happy to have found it now, before I did any work myself. It was easy to make the decision to replace the whole water pipe all the way outside as this would bring the house up to modern standards, would add a lot of value for re-selling and is pretty cheap to do (providing I did the work myself).
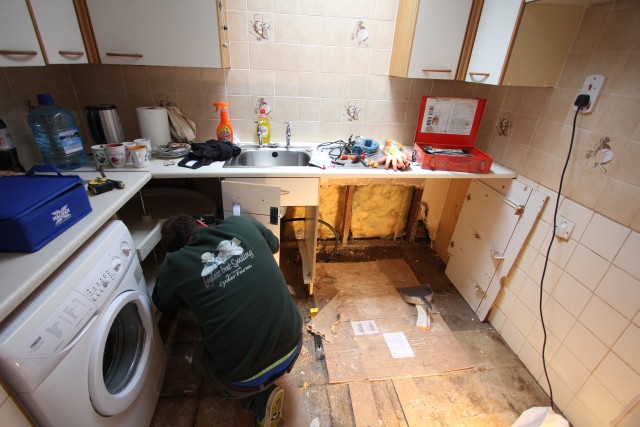
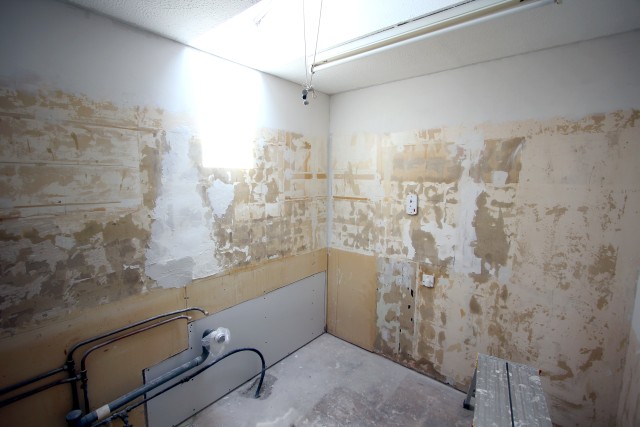
The pipe had sprayed the plasterboard behind the base units with a fine mist and was pretty horrid so I stripped all of the affected plasterboard out. We then set about removing all of the base units apart from what was holding the sink up as the sink was very useful with the rest of the DIY going on.
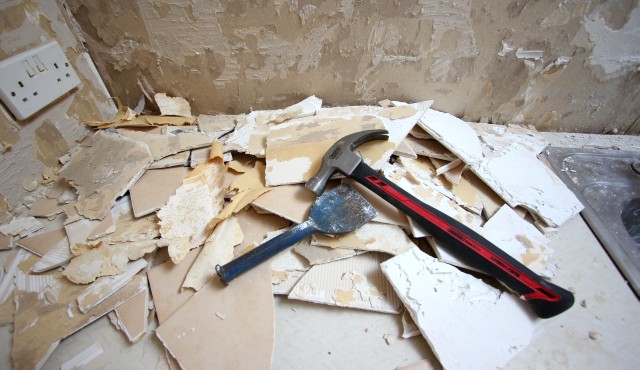
The next thing to go was the wall tiles. I carefully removed some of the bread and kettle tiles as keep sakes and even gave a few a way to some of my lovely helpers. I then (less carefully) removed the rest of the tiles with the aid of the Draper Expert Claw Hammer. This 20oz hammer and a bolster made mince meat of the tiles. The Draper Expert hammer has a carbon fibre shaft with a shock-absorbing rubber grip which makes it really comfortable to handle, even when you’re giving it welly.
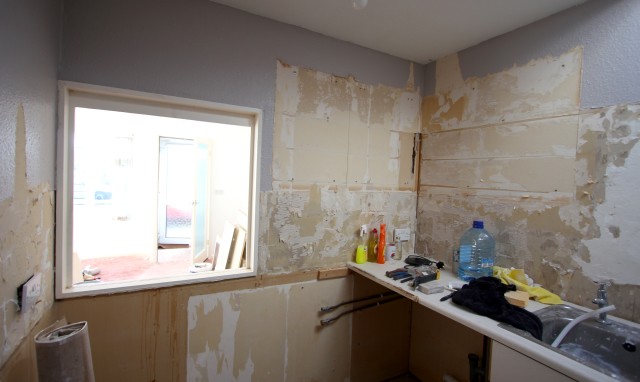
With all the tiles off the walls our sights were now firmly set on the hatch…
We then cut out the hatch and made it much bigger, this gives the kitchen and lounge an open plan feel whilst keeping the two areas nicely separated and distinct. Read more about how we did it here…
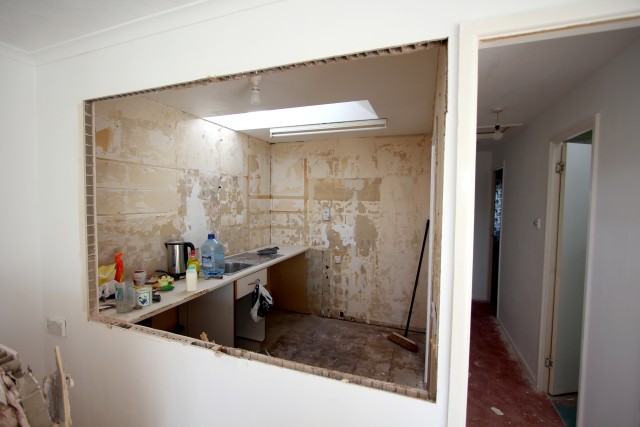
With a nice big hatch, you could now speak to people in the lounge whilst you’re in the kitchen and pass things through. It also revealed the true size of the kitchen, made both rooms feel larger and let light from the kitchen velux into the lounge, making it even brighter.
You can see in the photo below that by this point I had squared off the hole in the plasterboard, and replaced the triple thick layer of plasterboard. I was really happy with the job I had done and it looked really smart, although later it would all be completely covered by base units (I’d still know that I’d done a good job back there!)
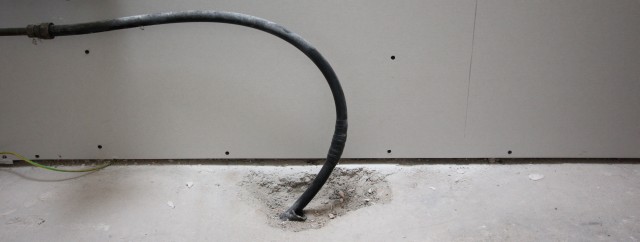
Here is the old and pretty rubbish black, alkathene water pipe. These pipes which were used back in the 60s and 70s are notorious for failing as they are reaching the end of their life. This was the only one in the house so pulling it out and replacing it was a no brainer. My next door neighbour had already done his and very helpfully told me exactly what I needed to do as well as giving me a helping hand.
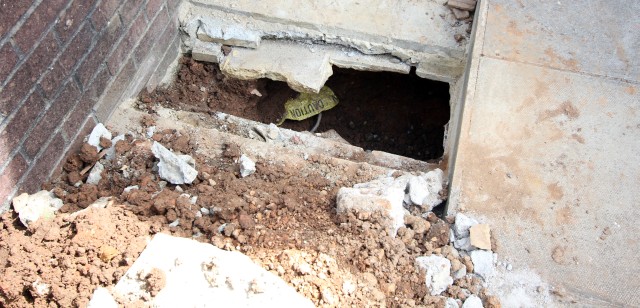
The first thing to do when replacing the pipe was to go outside, dig a big trench and find the pipe. Luckily, as my neighbour had already done his, he was able to tell me exactly where the pipe would be. He was spot on and after a fair bit of digging to get all the way down below the foundation slab we found it.
The pipe travelled into the house in a ducting, so after turning off all the water and draining the pipe, we cut the old pipe. Then taping some BT rope onto the end of the old pipe we pulled the old pipe out of the house. Inside the house we then taped the BT rope to the new modern water pipe and tugged the BT rope all the way outside, bringing with it the new water pipe. Hey presto, modern blue MDPE waterpipe to the property. This cost about £15 for the pipe and a couple of quid for the new connectors but will add lots more to the value of the house.
Below you can see the trench we dug outside the house, the yellow plastic is the warning tape. You need to slow down your digging and go carefully when you see this!