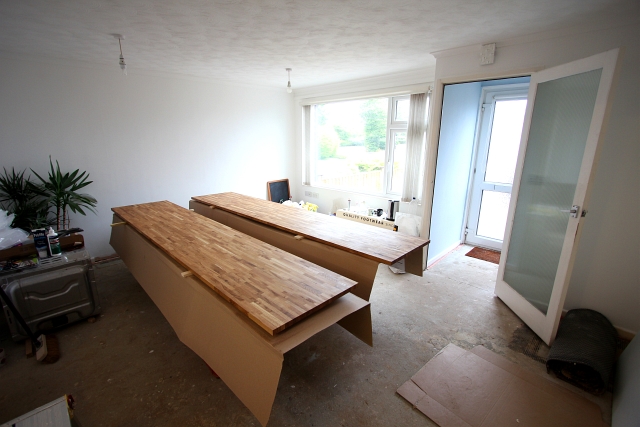
After the floor had been tiled, the next job was to fit the units. This wasn’t a job I was particularly looking forward to as it’s quite tricky and not something you do often. Further to this, to get a really well fitting kitchen, exact precision is needed and some of the different stages are pretty stressful. The first thing to do was collect the two 3 metre lengths of worktop that I needed. Luckily, I have a van and was able to go and collect them for free. Once I’d got them back to my place we had to lay them out and start applying Danish Oil to the top surface and edges. The application of this oil is super important, not only before fitting the kitchen, but throughout the life of the worktop.
The oil keeps the worktop waterproof and protects it from getting stained. Putting this oil on every 6 months will greatly improve the life and look of your worktop. People often go for fake or laminate worktops as they don’t need this upkeep but it’s honestly well worth it. Fake worktops are super easy to spot and the extra money to buy real wood is well worth it. As it’s such an major part of your kitchen, buying a laminate worktop will just cheapen your whole design.
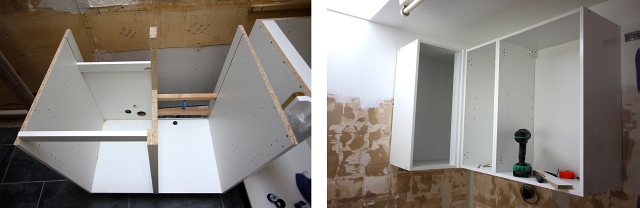
Assembling the units wasn’t too tricky, just like doing lots and lots of flat pack Ikea furniture. I did it in a backroom so I didn’t overcrowd the kitchen. This meant that I could carry on doing other little jobs in the kitchen without worrying about damaging my partially built units. A top tip is to lay some old blankets or towels down to build your units on top of. This stops the panels getting all scratched up on the floor. Also don’t even think about putting the doors on until the whole kitchen is finished as these are the most precious and delicate part. Just tuck them away in another room nice and safe until the very end.

With all the units made, it’s time to start bringing them in and putting them into position. I started with the wall units first as it’s way easier before the base units are in (as they just get in the way). Depending on the wall you’re fitting them to, you will need different fittings and you really need to look into getting exactly the right fitting. When it comes to this sort of thing, I always think it’s better to overdo it than underdo it, so use the biggest and best fittings you can. No one wants their wall units to fall down!
You also need to think really carefully about exactly how high up the wall your units will be, don’t forget to take into account the height of the base unit, worktop and your splashback. If you are struggling to find a nice splashback you may want to consider making your own out of acrylic. Simply plastics offer a service where you can cut down acrylic to any size. This gives you full control over what your splashback looks like! I wanted to make sure I had a nice even number of tiles in my splashback with no horizontal cuts between the worktop and wall units.
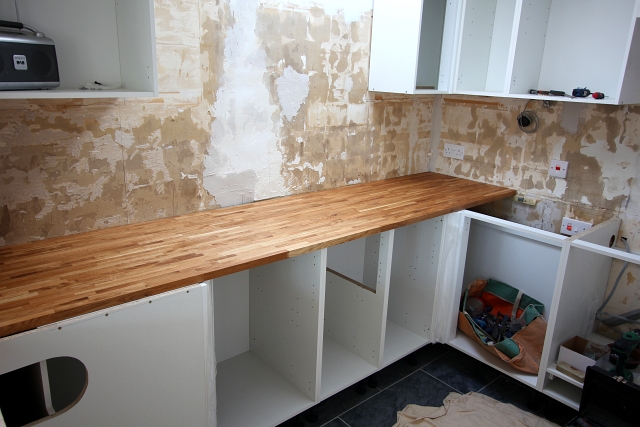
Once the units are all in, adjusted to the correct height and you have thoroughly ensured they are level (this all sounds a lot easier and quicker than it is), you are ready to start with the worktops. When cutting the worktops down, make sure to cut the length a couple mm too small. The reason for this is so that if the worktop expands, it has room to move and wont bow.
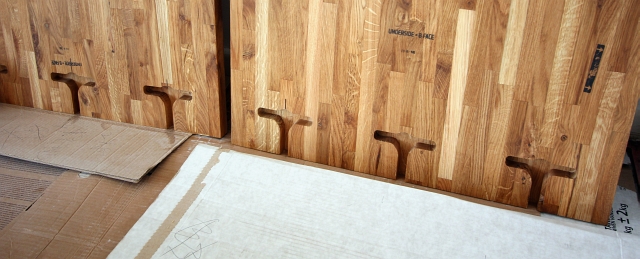
After you’ve done a ‘dry run’ and tried them in situ, it’s time to route the worktops and get the connecting bolts ready. Once their routed (you’ll need a special jig) and you’ve put them all in position, you really need a friend or two for help.
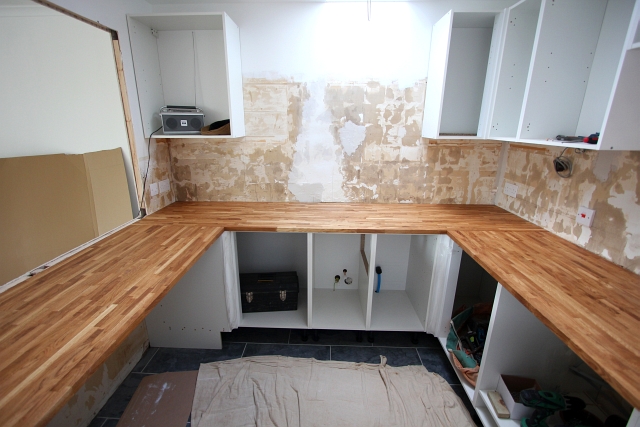
Get the worktop connecting bolts in the routed holes and be ready to tighten them. Apply some wood glue to the join and with a friend watching from above and applying pressure to ensure you get a smooth join, start to tighten the bolts. You need to tighten the bolts evenly and gradually, tighten the middle then left and right a little bit at a time, this will make sure you get a good join.
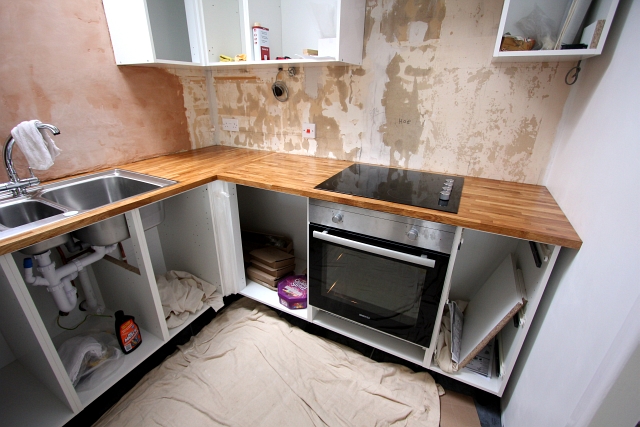
Now with all three worktops in place and the glue set, you can start thinking about cutting the holes out for the sink, hobs and anything else you need. Your sink and hob should come with a template to draw around, if not, then you’re going to have to do some more careful thinking. The reason I cut the holes out after I’d fitted the worktop and not before, is that it greatly weakens the worktop. If you look at the small amount of worktop left at the front and back of the sink, if it wasn’t for the base unit underneath supporting the whole structure, this would easy snap. Obviously, take a lot of care with your jigsaw as anything cut now can’t be undone. Check, double check, triple check and get a friend to help.
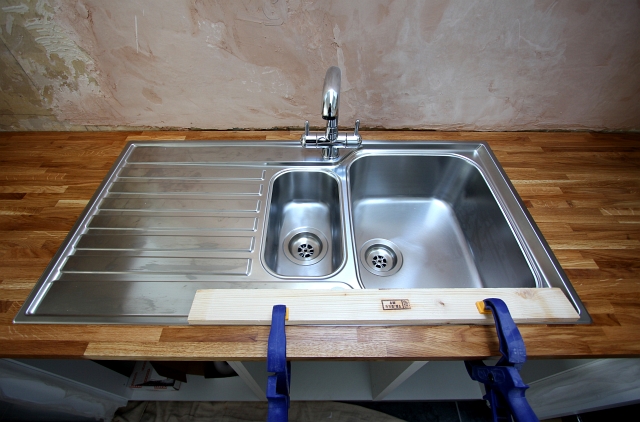
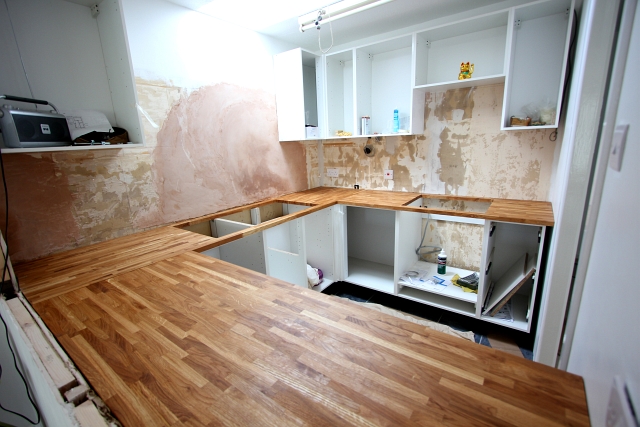
With the holes all cut, I then put even more Danish Oil around the newly cut edges (just to be safe). Around your oven you will want to stick some heat proofing foil to protect the underside of the worktop. Assemble your sink and attach your taps and the piping. I splashed out and bought a really nice Frankie sink and taps. They were a lot more than the bog standard ones you get in a lot of kitchens but they will last a lot longer and will look great for years to come. With the amount of use and abuse that a kitchen sink and taps get, I’d definitely spend a little more on these. Kitchen sinks have a sprung design that grips into the worktop hole, but I used some extra kitchen adhesive to glue it stuck and seal it around the edge.
With your kitchen finally coming together after hours of hard work, sit back, survey your nearly finished creation and have a well deserved cuppa.