
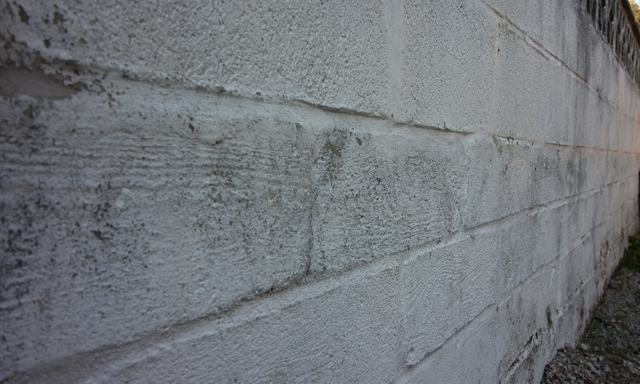
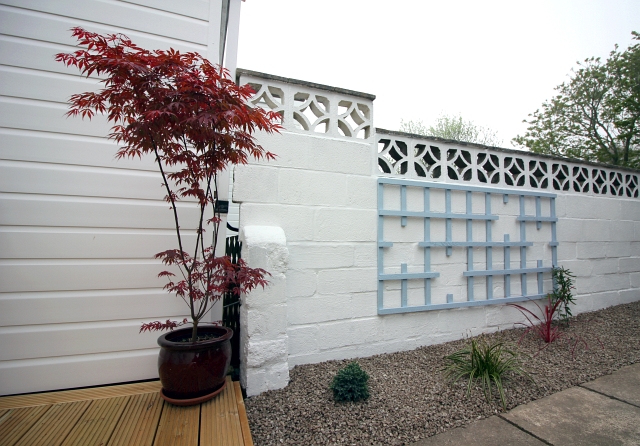
On one side of my garden was a long, dirty, scruffy looking, grey wall (I think it was originally white?). It made that whole part of the garden look nasty and I’ve been keen to sort it out for a while. With a wire brush and a tub of white masonry paint I quickly sorted the wall out. I then added a nice Japanese style border in front of the wall, which I’ll go into in greater depth in another post. It was now looking really tidy but the long, white wall was a little bland and definitely needed something to add some interest and colour.
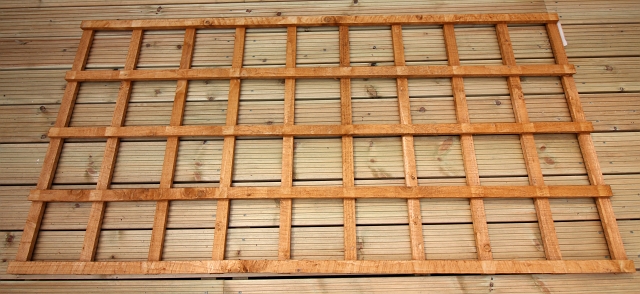
Whilst looking at Japanese garden inspiration in some books, I came across a Japanese trellis which looked awesome, however, when I looked for one to purchase online, they were really expensive and a lot more money than a conventional trellis that you can pick up from places like Wickes for about £15. Being the cunning sort of guy I am, I worked out how I could replicate the design using a regular trellis, a saw and some paint.
A Japanese trellis is basially a regular square trellis but with some shorter vertical and horizontal piece which give larger spaces. This can be achieved introspectively by cutting and removing sections of trellis. The first thing to do is get a pencil, ruler, paper and rubber and draw your trellis then experiment by drawing your trellis and rubbing sections away. I think it’s best to get some sort of pattern, balance or symmetry in your design as these are key in all Japanese design.
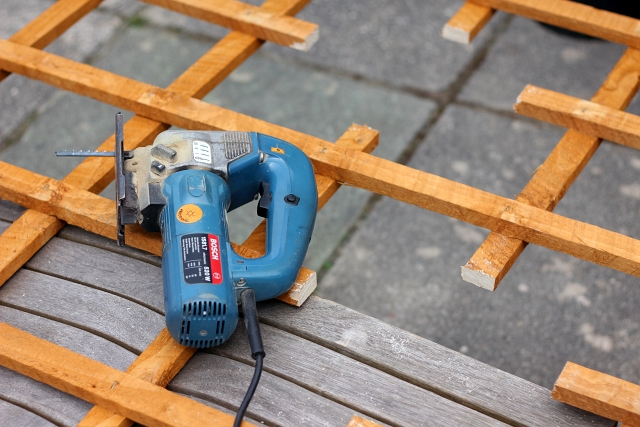
Then when you’ve decided, take a hacksaw or better yet jigsaw and remove the pieces. Make sure you leave equal amounts on every side as to keep it symmetrical. If in doubt, it’s better to take off too little than too much as you can always come back and trim more off if you’re unhappy. With all the sections removed, grab a piece of sandpaper and a block and smooth off your freshly sawn edges.
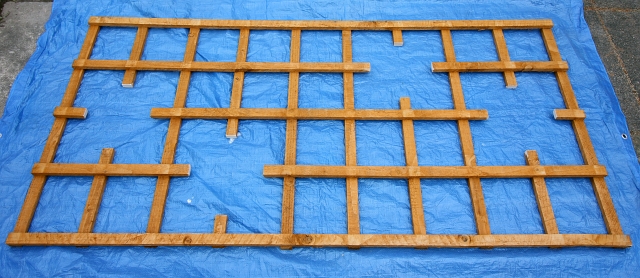
At this point I was pretty darn happy with the looks of the trellis and could have just left it at that and screwed it onto the wall – as is. I was keen for a bit of colour and had bought some Ronseal Garden Paint in ‘Cool Breeze’ light blue. This calm but bright colour would add a splash of colour and tranquillity to the outdoor space. As well as looking good it also waterproofs the wood and should help my hard work last even longer than the standard treated trellis on its own.
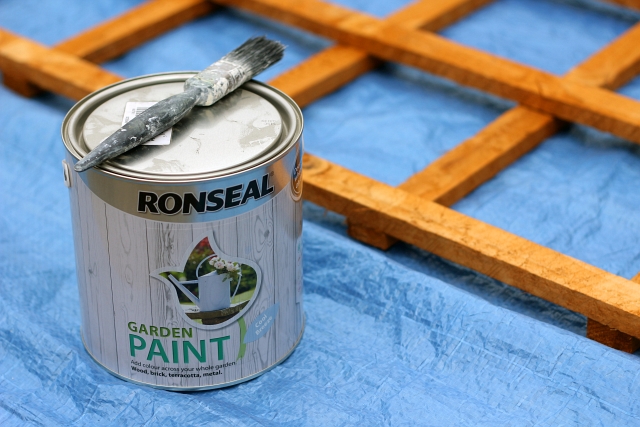
The paint was a really nice colour and the paint went on nicely, taking 3 coats to cover the trellis’ already bright orange colour. What is cool about the Ronseal garden paint is that it can be used on many surfaces as well as wood such as brick, terracotta and metal. This is great as you can colour code lots of things in your garden and get a nice theme going on.
I attached the trellis with outdoor screws into the brick work, using a rawlplug in each corner. I bought a passion flower in a complementary colour and planted this underneath, within a few months this quick climber should be all over the trellis. When planting climbers underneath trellis, bear in mind that they will go towards the sunlight. So plant them at the end of the trellis which is furthest from the light. I think you’ll agree that the couple hours to mod this boring trellis was definitely well worth it as it adds a lot of interest, character and colour into a previously boring space.
Thanks so much for this post you inspired me to make one for my oriental garden with a low budget this is an ideal alternative and painted black and red it looks the part