As you may have seen in some of my other garden posts (here and here) my back garden was in a totally, unkempt, baron state. Obviously, my first concern was sorting the house out. However, once I was happy with that, I moved onto sorting out the garden and putting in a second off road parking space out the front of the house. These things not only make life nicer but also add value to the house – win win!
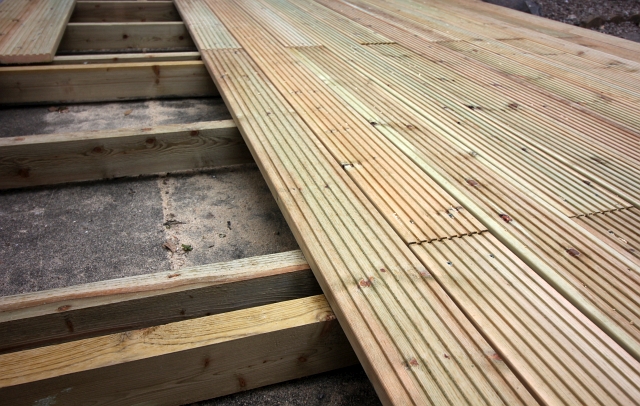
After clearing out the garden, getting rid of the concrete disabled ramp and putting in a half decent soak-away (where the rain water will drain), I got on with something I was really keen for… a decked area outside the back door! I bought pressure treated timbers from a local sawmill, saving money on delivery by collecting the huge length of wood in my van. For strength, it’s always better to use whole length when making a frame. So even though they might be a tad more expensive and less convenient, I’d definitely get the longest lengths you can. Also chunkier the wood you use for your frame the more solid and less ‘bouncy’ it will feel. If your deck is wobbly and moves up and down as you walk on it, then the frame is probably a bit weak.
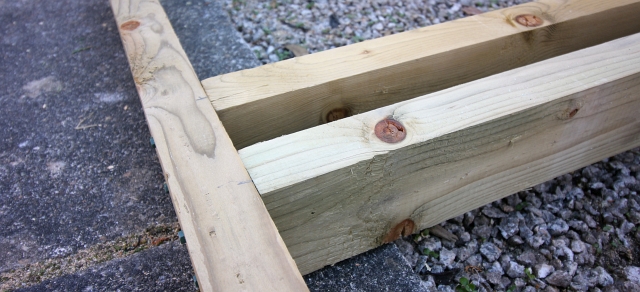
I did a fair amount of research on the best dimensions to space out the joists in a frame and whilst looking on the net, I found this video on youtube. He explains how to use two joists where deck boards meet to allow a small gap, which will in turn let water drain through and stop the deck rotting out prematurely. Go ahead and watch the video, it will quickly persuade you that this is the best way to fit a deck.
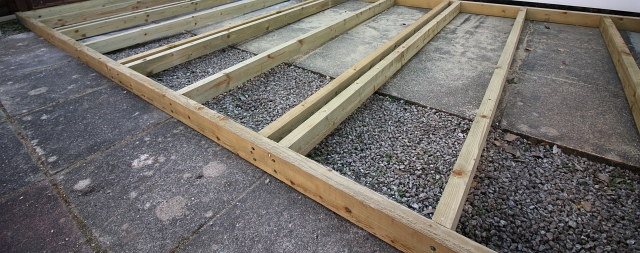
The frame was finished by placing slate feet underneath so that no part of it was sat on the ground. Any part of the frame which is sat on the wet will increase the likelihood of rot and speed up the death of your deck. You then need to make sure there is a slight slope on the deck to ensure the water drains off. The slope doesn’t need to be visible, just enough so the water will run off. When laying the decking boards, you must put them down perpendicular to the way you will most frequently walk on them.
One of the most important things with laying decking is to get everything symmetrical and repeated. When laying, position the deck boards in a brick pattern then make sure that both sides of the central board are equal and that it all balances out nicely. Another great trick is to use spacers, much the same as when tiling, to get all of the boards at an equal distant from each other. It’s all these extra little bits of effort that will really give the job a high quality look and finish.
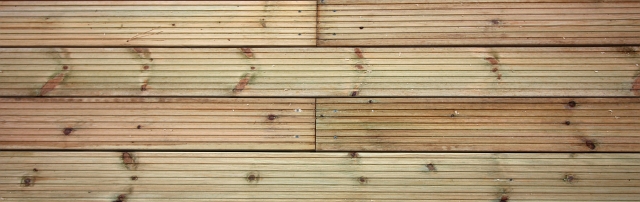
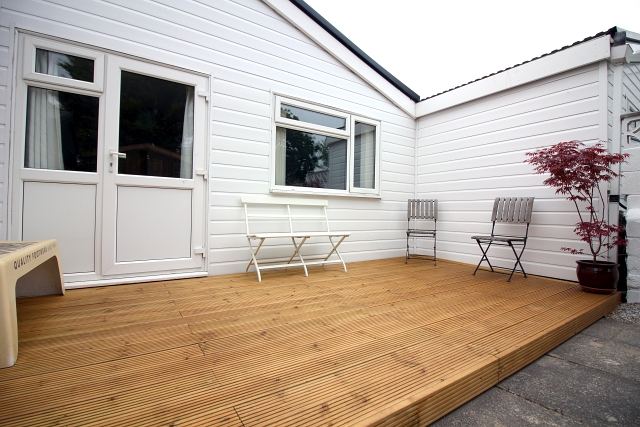
To finish off the decking, I added extra deck boards along the front edge. I lined these up flush with the top edge of the deck to keep it looking smart. My OCD use of spacers, rulers and tape measures, which had put every screw and board in just the right place, had worked and my decking looked great. Paying attention to detail as with most DIY really had made the difference.

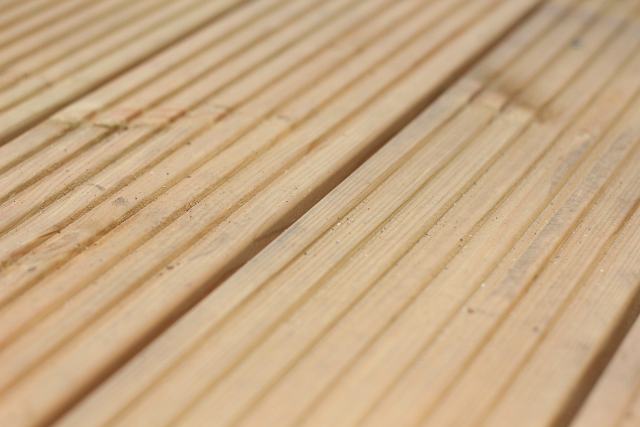
I loved the look of the decking, another section of the garden looking brilliant, and it was really nice to walk on in bare feet, especially when it was nice and warm with the sun catching on it. However, the colour was a bit pale and didn’t look quite as good quality as I thought it could. The same with my shed and fence, I think that giving outdoor wood work a good stain gives it a more unique and higher quality look.
I’d been really impressed with the Ronseal Shed and Fence Preserver and decided to use Ronseal’s Decking Protector (natural colour). On the tin it says that it waterproofs which will stop the boards swelling, splitting and ultimately rotting. Not only does it save the decking from the bad weather, but also the good weather as the sun can damage the wood and turn it grey. This sounded like everything we needed.
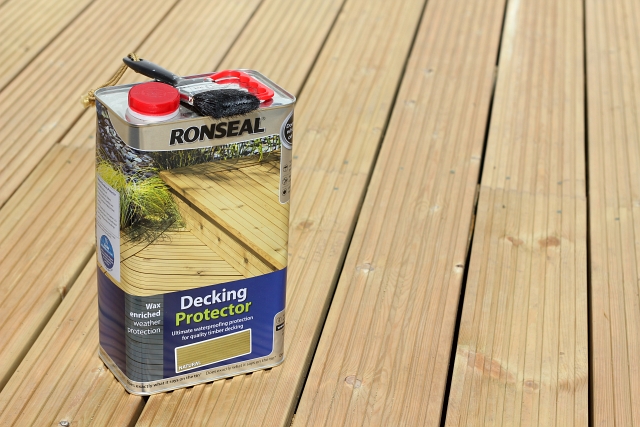
It went on really nicely with just a regular paintbrush; it wasn’t horrible smelling and didn’t stain my hands like some products do. The protector makes the wood waterproof so when you apply the second coat, you need to do so quickly as if you leave it to long the first coat will start to work and can stop the second coat penetrating. I really like the rich natural colour which the protector has; it makes the decking boards certainly look more sophisticated and pricey.
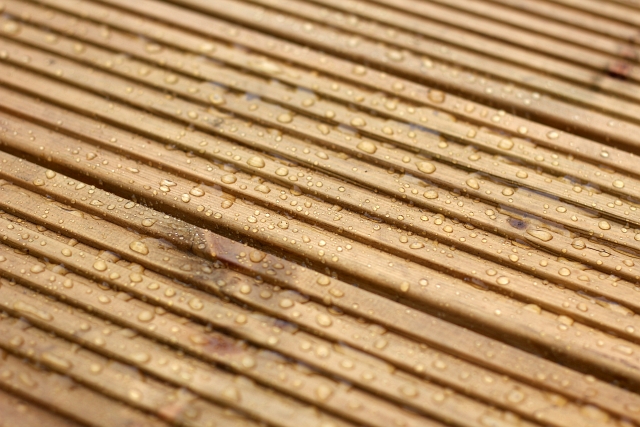
After 24 hours, it was all done. I was stunned at just how waterproof the decking now was. As you can clearly see in the photo below, Ronseal’s Decking Protector clearly stops the water soaking into the wood. Water droplets bead and pool on the surface of the wood. It’s really incredible; this helps the water roll down the grooves and leave the decking a lot drier. There is no doubt in my mind that this will help the life of the decking and will make the whole build last even longer.