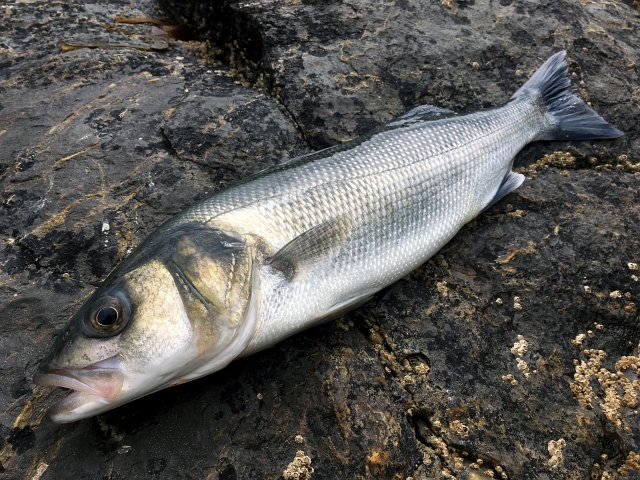
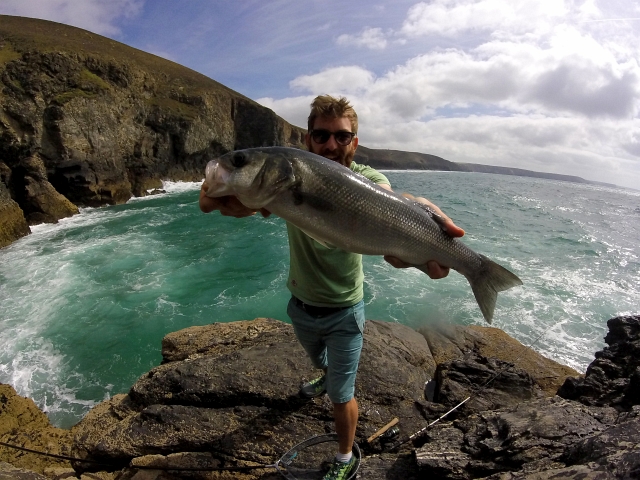
Having caught your first bass, working out what to do with it can be a tricky thing. The jubilation of all your hard work coming together and you landing a bass is one of the best feelings out there. However, after you’ve put the poor chap to night, the question “What now?” is at first a tricky one to answer. As I tackled my basstastic catch yesterday, I thought back to my first bass and thought it would have been nice to have a concise guide on what to do with it. So here is my attempt at a guide…
P.S. I’m going to totally skip over how to catch one. That is the hardest part-if you’ve learnt how to catch one, then learning how to cook it is easy in comparison!
If you’re fishing, you must take a filleting knife with you and priest (something to hit fish on the head with). Being humane is a huge part of fishing so use a landing net and as quickly as possible (after measuring to ensure he is over the 42cm legal landing size), give him a sharp blow to the top of his noggin, just behind the eyes. This should be all it takes but if he still moves, do it again but firmer.
Even if you want to carry on fishing (not for bass though you can only have one a day with the new landing laws) you want to get the guts out of your catch as soon as possible. This keeps the fish from going off and means you can throw them back in the sea and continue the circle of life.
This sounds horrible but if you just man up and do it quickly, it’s easy and not anywhere near as unpleasant as it sounds: Pop your knife in at the bum hole and cut up the belly until you reach the pelvic fin further up his belly. Now put your hand in grab everything out. You can use your knife if you need to detach anything but there shouldn’t be much need. Rinse your fish and hands if you can safely get to the water. Pop him in a bag and you’re good to go.
This 50cm beauty was hanging off the chopping board which is always a good sign. With a bass you will definitely want to descale it to make the skin is edible and delicious. I’ve got a descaling tool, and I recommend you get one too, but if not, you can use the back of a dinner knife for the time being. Fill your sink half full of water and rinse the fish as you do this. With the fish in the water, hold the tail and run the knife from the tail to the head, you will see the scales come out in the water (the water stops them flying all over your house!) Rub the fish with your hands to check it’s smooth and you’re onto step three.
Sharpen your kitchen scissors and filleting knife as this will make the job a lot easier. Next, lift up all of the fins (except the tail fin) and chop them off with your scissors as close to the body as you can get. This will be tough as they are amazing strong and spikey.
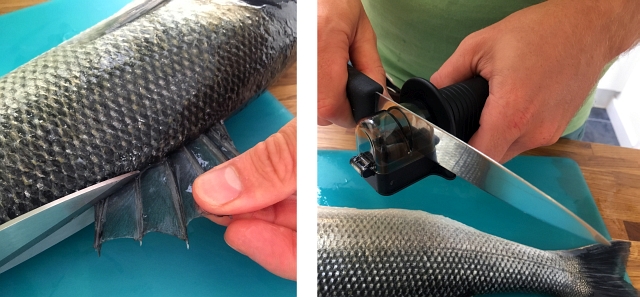
Now to get rid of the head and tail. With a sharp, clean, dry knife cut into the fish, just behind the pectoral fin. Make this cut an angle so that the knife points up towards the top of his head. With a big fish for finesse, I make this cut on both sides with a filleting knife and stop at the spine. Then get a beefier knife and cut through the spine.
The tail is even easier, just chop it clean off a little way before the fin. I now rinse the fish off thoroughly in the sink. You can get inside the gut cavity and ensure it’s clean. I always run a cut a long the spine from inside the gut cavity and then rinse again to remove
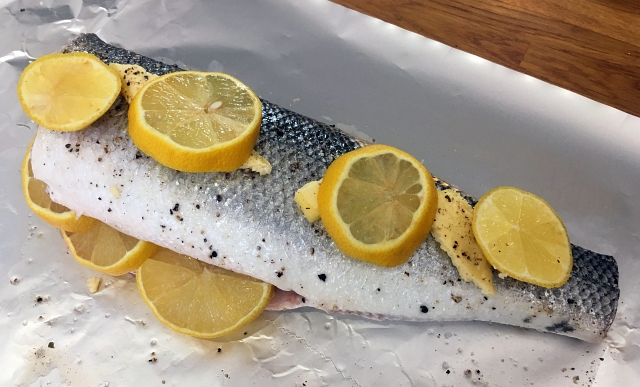
It’s time to get your Rick Stein on, get some lemon, salt, pepper, butter and any other seasoning (like bay leaves) out of your cupboards and find some tin foil. Lay down a piece of tin foil which is a bit more than double the length of your fish, then pop the bass on it. Grind salt and pepper all over the outside and inside of the fish. Then chop big chunks of butter and stuff them inside the bass. Slice the lemon and place them inside and on top.
Now it’s time to embrace your inner Cornish man and start crimping. You want to leave a bit of an air pocket at the top of the fish but crimp securely the outside of the foil to make a sealed parcel. The tighter the seal the better it will be!
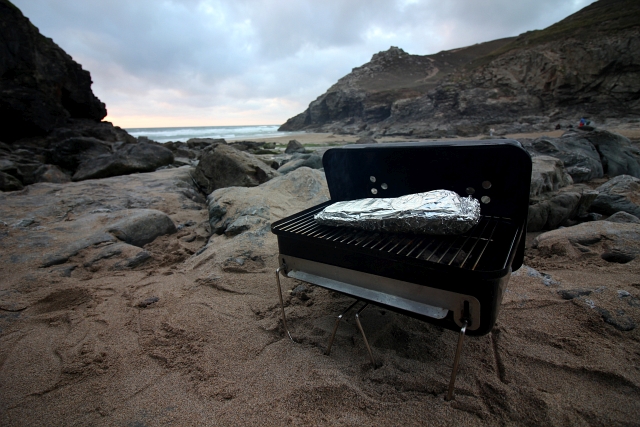
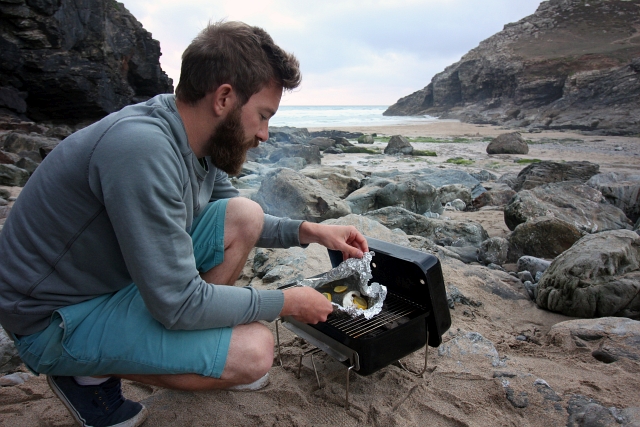
You’ve got two choices, you can either pop this in the oven and keep a careful eye on it. Or you can do the best and the coolest way and get your BBQ and head to the beach. Make sure you bring some bread, plates and kitchen roll if you want to keep things semi-sophisticated!
Couple of quick BBQ tips, you always want to leave your charcoal 30 minutes before you cook anything on it. But even longer if you want to cook fish. It’s a delicate creature and doesn’t need long and that much heat. So you want the BBQ to have died down a bit. I leave the charcoal for half an hour, then cook something else like burger, then cook my fish. So the fire has had time to die down.
Pop the bass on, place the lid back on the BBQ and this is where the skill comes in. You want to try and not overcook the bass, they don’t need ages. Just the bare minimum. Spin the bass round from time to time and for gods sake, keep the lid on.
After maybe 10 minutes (all BBQ’s vary so yours could be less or more, it’s best to just check regularly), open the foil parcel gently and take a sneak peak. What you’re looking for is the meat on the bottom has turned white. If it’s white up to the underside of the spine, you’re doing well. Open the gut captivity and take a glimpse in there. Once the underside is looking pretty good, it’s time to flip. Crimp it back up and flip it. You’ll probably get some butter seeping out, but no worries, you don’t want it floating in butter anyway and it’s almost finished doing it’s job.
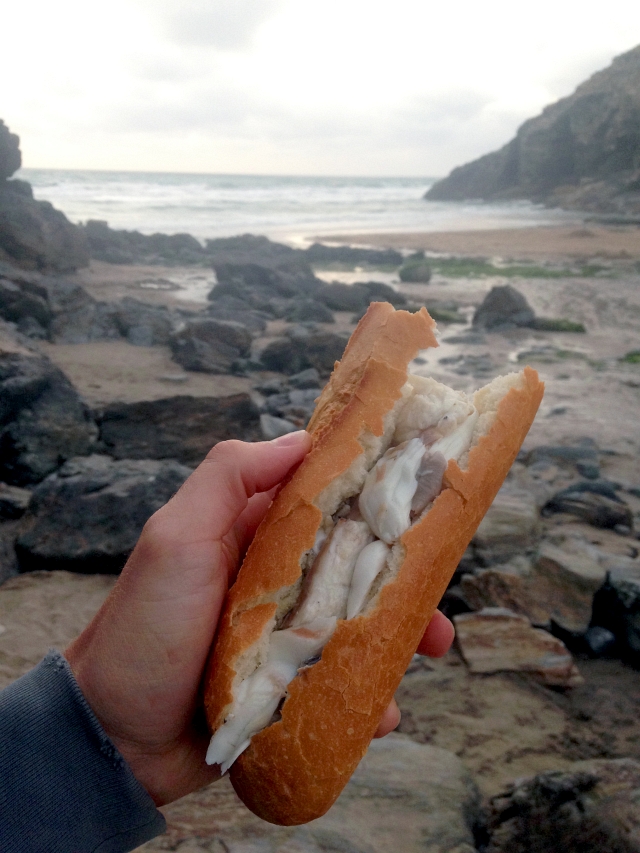
When it’s all done, all of the meat should be white and flaking off the bones. Remove from the BBQ and place on a plate. It’s eating time!
Grab some fresh crusty bread and make yourself a tasty bass bap or baguette! You can make some more exciting dishes if you wish, but for me, eating fresh bass simply by the sea is as good as it gets.
Sit back and watch the sunset. Thank the ocean and enjoy. You did a smashing job.

