
Recently I’ve been becoming more and more interested in Ale, craft beer and brewing in general. I know very little about the brewing process and have been wanting to find out more about what goes into making beer (on a small and large scale). A brewery tour is definitely on the books to get a bit more knowledge on the topic, but I’d thought a great way to learn more about brewing would be to actual brew my own beer using a simple home brewing kit.
I’m going to blog about my home brew from the start to the drinking, including all the different stages. In my search for a all-in-one home brewing solution I stumbled across Brew a website specialising in all things brewing, they stock everything from very simple kits for first timers (like me) to all the ingredients and tools a professional would use.
There was quite a choice but I opted for the BruBox, an all in one kit for making 10 litres of your very own beer! It includes everything you need, all the equipment and ingredients. After emptying out the box and checking it all out, I read the instructions. The instructions are easy enough to follow and the steps are nice and basic.
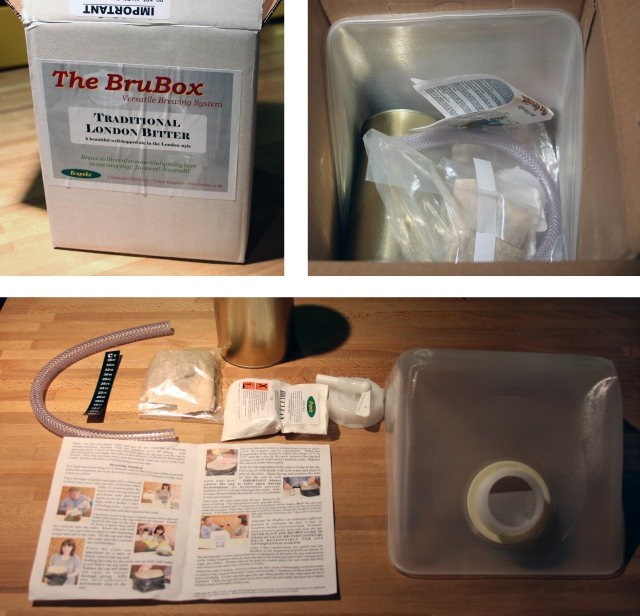
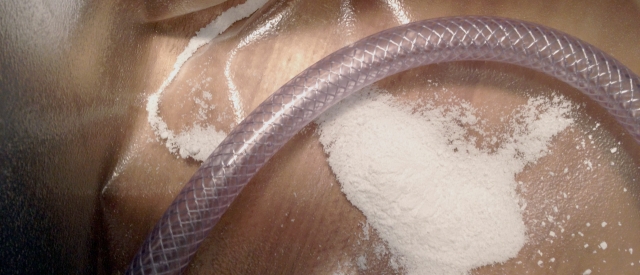
First off I needed to sanitise and clean the cube and the piece of tube needed later on in the brewing process. This was very straight forward, put the tube into the cube along with a teaspoon of the cleaning powder provided. Add warm water, shake, then rinse out with lots of cold water.
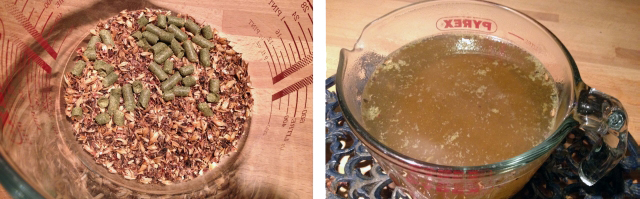
Next I got the hops and grain and put them in a jug (that’s the photo on the left). I then added a litre of boiling water and left for 15 minutes. It doesn’t look great but it did smell brilliant.
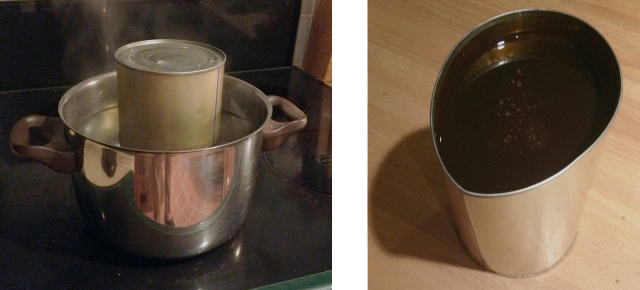
At the same time I took the can of malt and put it in very hot water to soften it up (this also took about 15 minutes). After it had softened up I opened the can and pinched one side to make a sort of spout.
15 minutes later I took the jug of hops and grain and poured off the now hoppy water into the brewing cube. I then topped up the hops and grain with another litre of boiling water and left for 5 minutes. After these 5 minutes were up I poured the second litre of hoppy water into the cube.
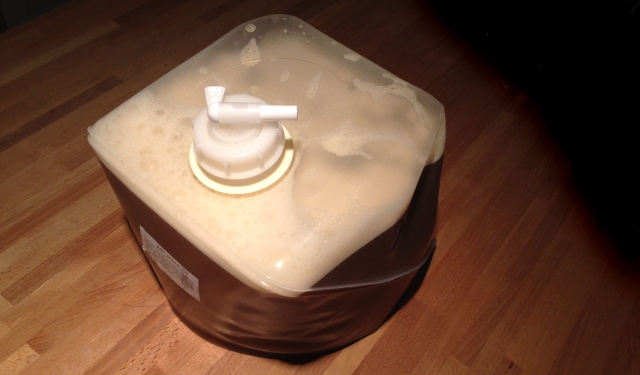
Next It was the turn of the malt, I poured this into the cube. To clean out the can I added 500ml of hot water to the can and emptied this into the cube. I topped up the cube with cold water right up to just below the top most seam.

I shook the cube well to get the mixture all blended. After attaching the stick-on-thermoter I waited for the temperature to settle, when the temperate was good I added the final ingredient – the yeast. With the yeast added, the fermentation stage was ready to begin. This would produce CO2 and you need a way of letting this excess pressure out, so I attached the tube provided to the tap on top of the cube and set it to open. I had to put the other end of the pipe in a water filled glass. Now all I needed to do was wait 10 days for the next stage…
To read part two, click here.
3 Comments