
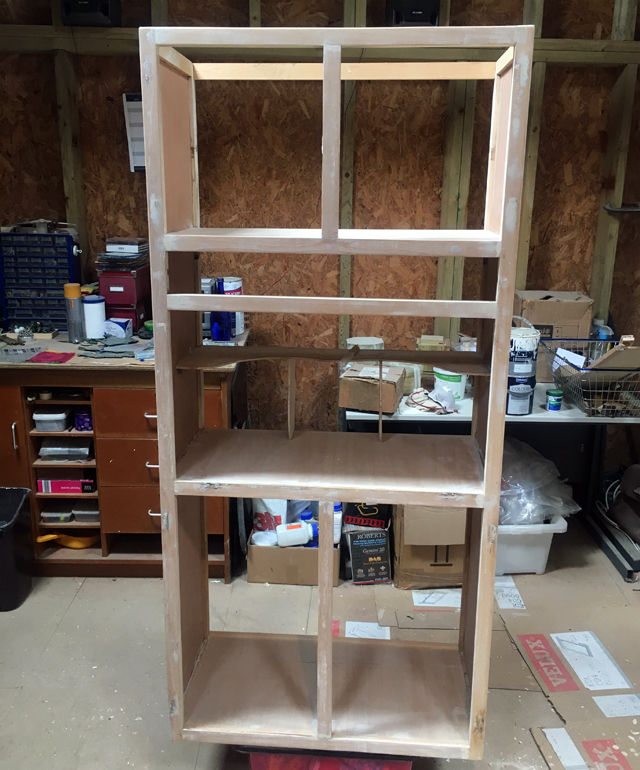
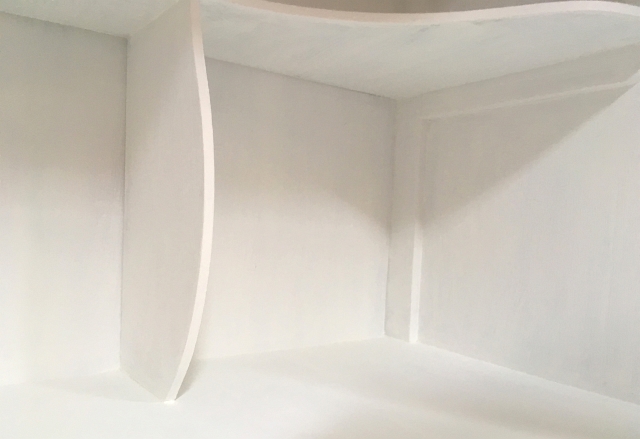
Kicking off from where I got to in part one, I had got the whole unit stripped down and sanded to bear wood. The process had unveiled, as well as created, a few scuff and scratches. There were also lots of holes from fixing the different shelves. Some serious application of wood filler was definitely needed!
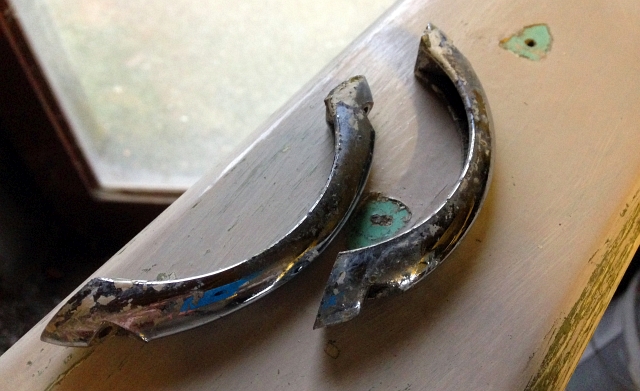
The original chrome handles were in quite a state. They had several coats of paint splatters and some serious pitting. I thought quite long and hard about replacing them with something new but similar in look. I decided though that this would take a lot of the character away from the larder. That’s what vintage is all about, what’s the point in having something old if it looks totally brand new!
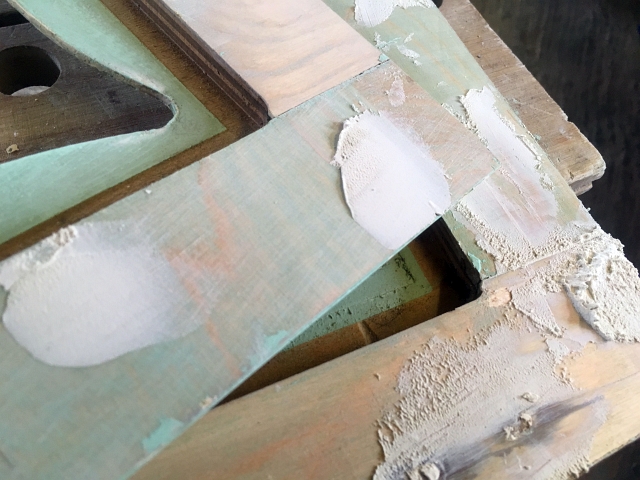
I had put a ton of filler into all the scrapes and cracks. When filling I like to leave it a little higher than the surrounding area, I find that then sanding this down flush with the wood gives a really smooth finish.
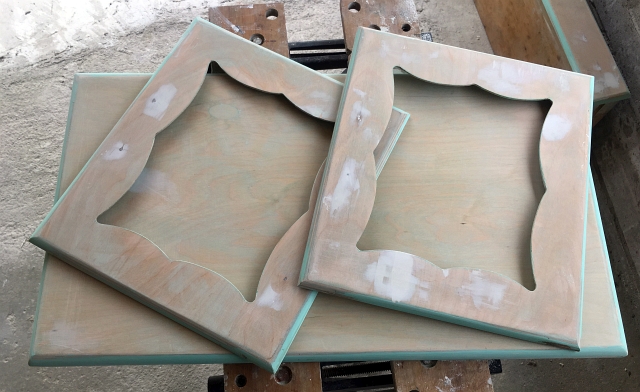
With this technique it didn’t take long for the major cracks and chips to be covered and the doors to start looking a bit like their former selves.
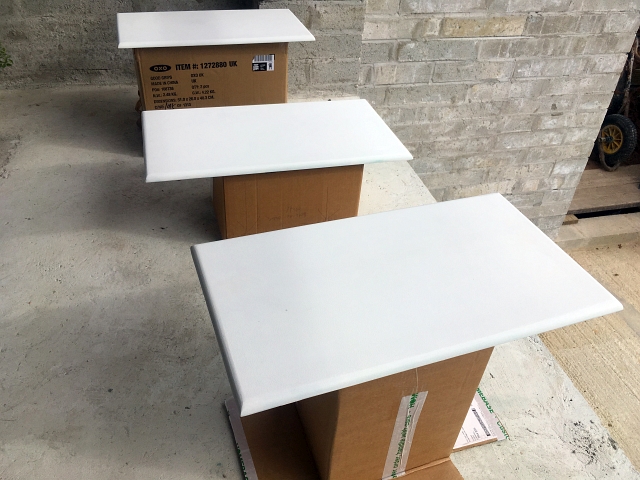
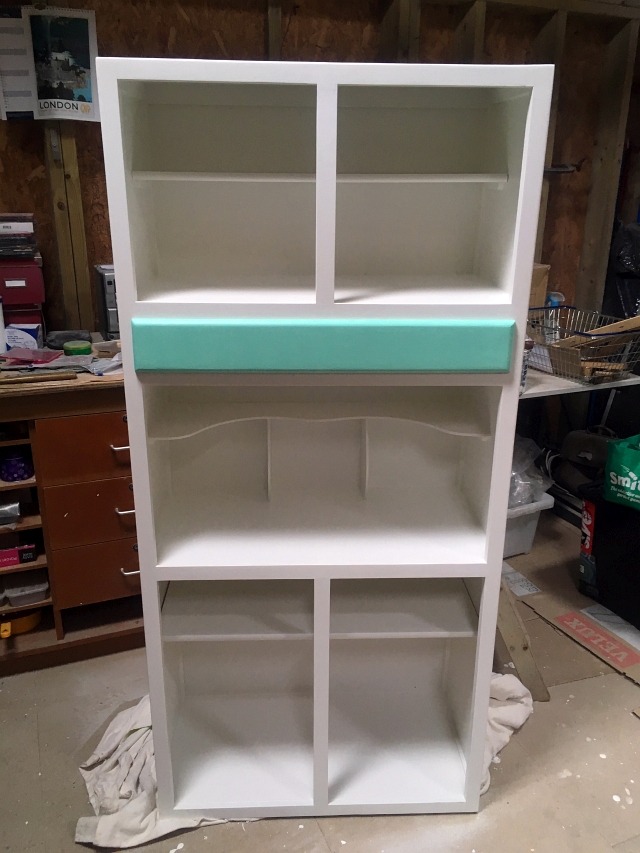
I found that after the whole thing was painted white it was really easy to notice any small holes that needed filling. After I had filled and painted several times over, each time discovering extra areas that needed fixing, I was happy to add in the interior shelves and the top of the unit.

I used some flexible painter’s mate filler to go around all the joins. This was a little bit extra but I really think it finished it off very well. All the corners and joins look awesome and very clean with the painter’s mate in them.
With several coats of white paint and filler in between, the doors were looking fantastic. I love the shaping and the character that the little windowed doors have. As the doors are the main part that you look at and see, I wanted to get the finish on these really top notch. Eventually, after a lot of sanding and filling, they were ready.

I used small foam rollers for applying the primer and undercoat. As with all painting, it’s 90% preparation so getting these base layers on right is what made the whole project end up looking so good.
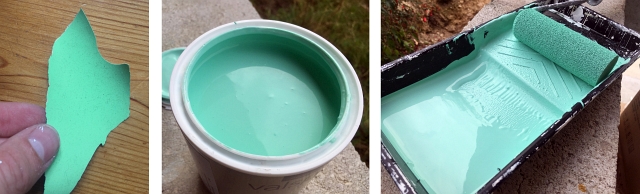
I wanted to paint the larder the original mint green colour that I had discovered underneath all those other layers of paint. I had saved some large flakes of that original colour from 50-60 years ago and decided rather than choosing a ‘best fit’ colour that I would get the colour matched professionally and get exactly the same shade. This ended up being fairly pricey as I also wanted to use the more expensive egg shell paint to give it that authentic original look.
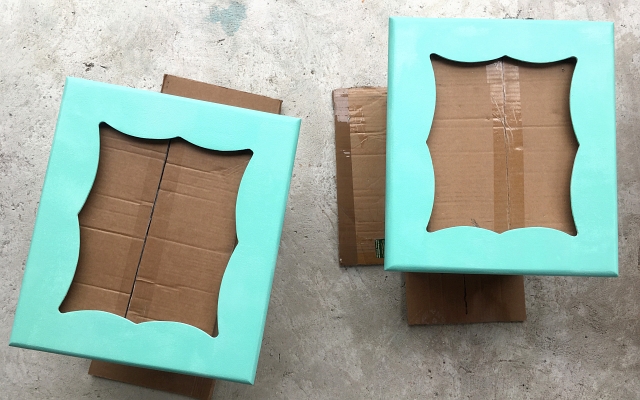
Putting the first coat of mint paint on was one of my favourite stages of the whole renovation. Immediately, the doors look totally different. All that colour and brightness just looked awesome.
I coated it up three or four times to make sure the colour was super vibrant and thick. The foam roller gave the paint a really smooth finish, hopefully just as good as when it originally came out of the factory decades ago.

I temporarily placed the draw in the larder to see how it all looked. The white body of the unit behind the bright mint green really made the doors pop. I was super stoked with how it was all coming together.
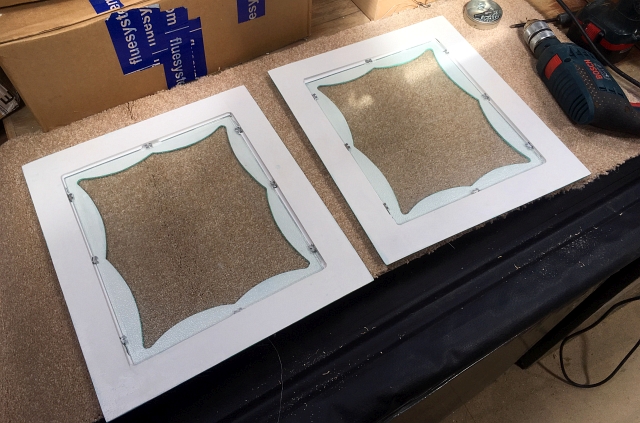
Unfortunately, the glass in the larder when my grandparents gave it to me was mismatched. There was one that was stripey and another which was textured. I did some research and it looked like the textured one was probably most likely to be the original. I went to a local glass shop and for just a few quid had some replacement glass cut in the same dimensions as the original pieces. I used a few new clips to hold the glass in place inside the windowed doors. They were looking awesome.
I had also had to buy new hinges as the old ones were totally knackered and not even one had come off the larder in one piece. As they were really nice quirky hinges originally, It had taken a long time to find an appropriate replacement. I had eventually found a really nice set on an obscure website online. With all the hinges attaching the doors to the larder itself, all that remained was to pop on the final touches. I was really looking forward to getting the handles on so that it would look very finished.
To read part three, please click here…

Thank you! I have just bought a wonderful old cabinet on eBay and himself is not keen on my ideas to restore, thinking we should just sell it on. But no – I will restore it as it has a lovely “face”.
Where did you get your replacement hinges, though? Would be a great help to know…
Thank you again – I am encouraged 🙂
Author
Hi Babs,
Glad you liked the posts, I always love hearing from people that have found them useful. It took a lot of searching to find something even close to the original hinges. I eventually came across this company: http://www.cookebrothers.co.uk/cabinet_fittings/decorative_hinges.html
You can chat to them on the phone and they are very helpful. I hope that helps!
Mike
Hi, I’m doing a similar cabinet but when I fit the top doors on, it won’t fit, did you have any issues
Thank
Paul